What is Solar Array?

Solar Array Mounted on Car Roof for Sunlight Capture.

Solar Arrays consists of Solar cells
A solar array is a collection of solar panels made up of individual solar cells, designed to capture sunlight and convert it into electricity. When I began this project, Tufts Solar Vehicle Project was $50K down in funding, so my goal was to create a functional, minimum viable product with minimal spending to keep us on track. This solar array will power our vehicle.
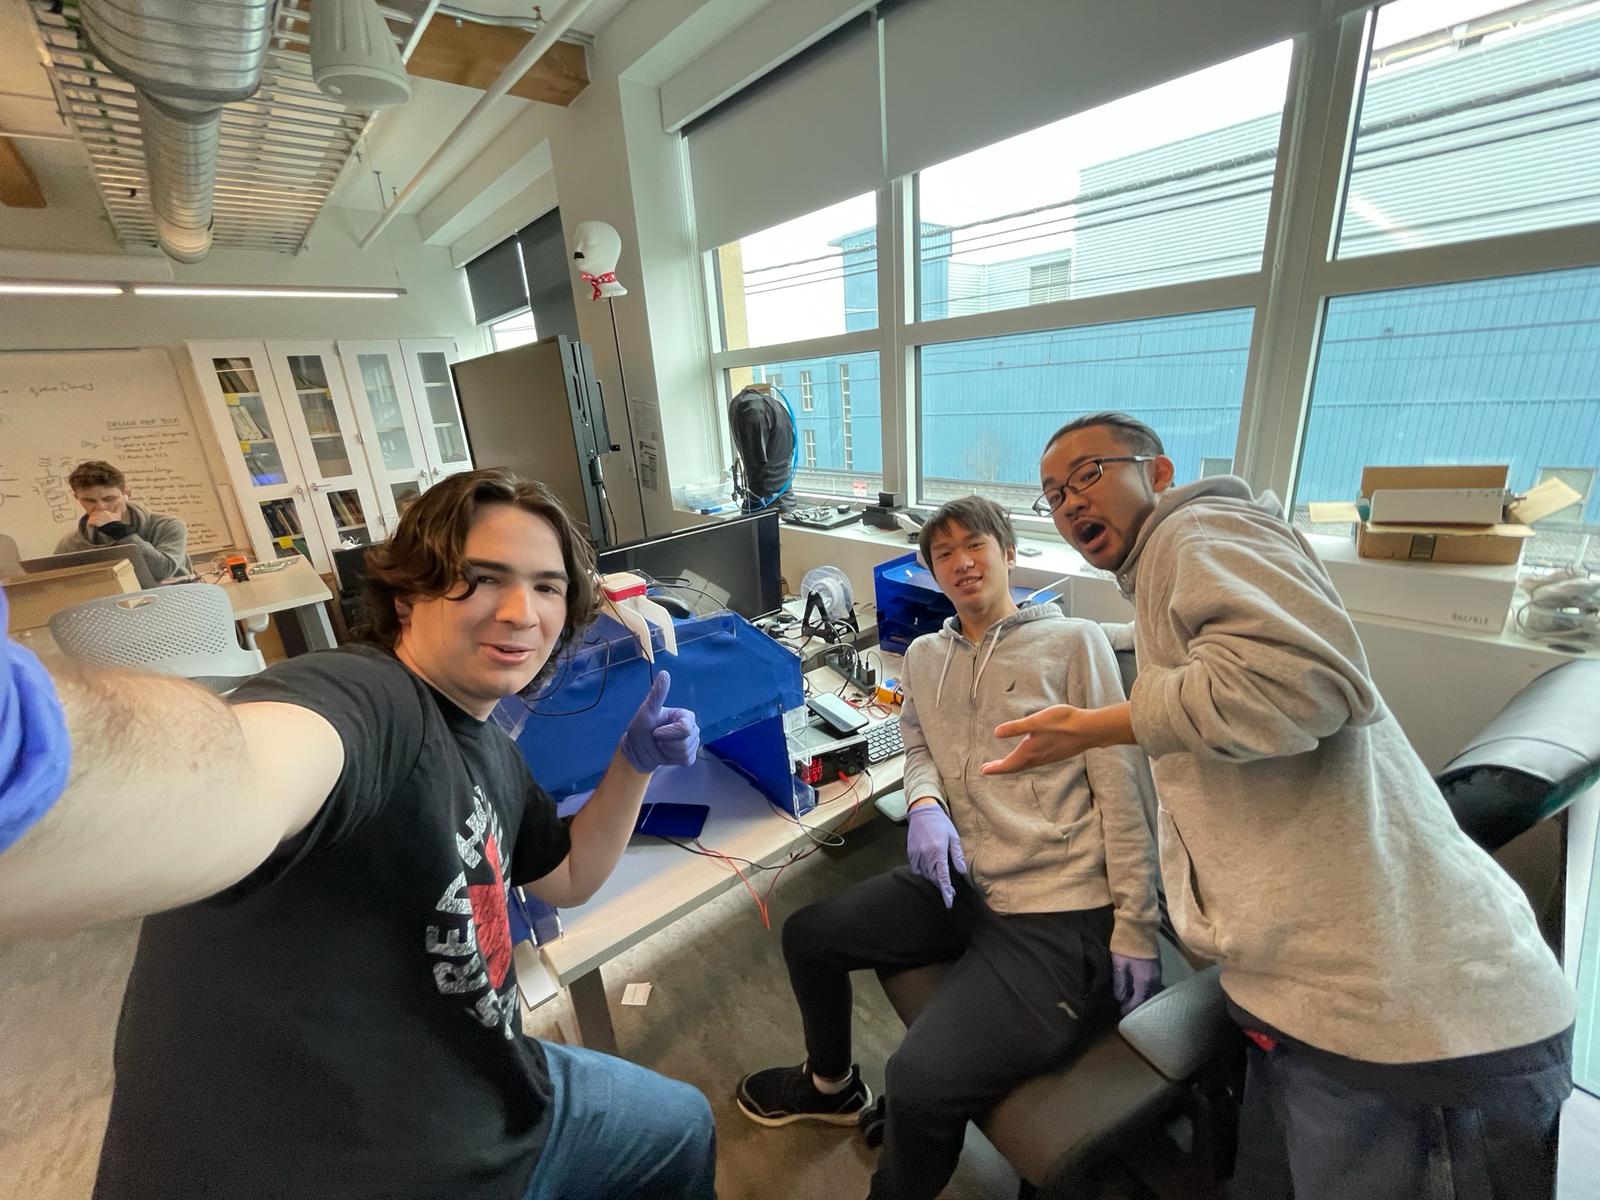
Array Group
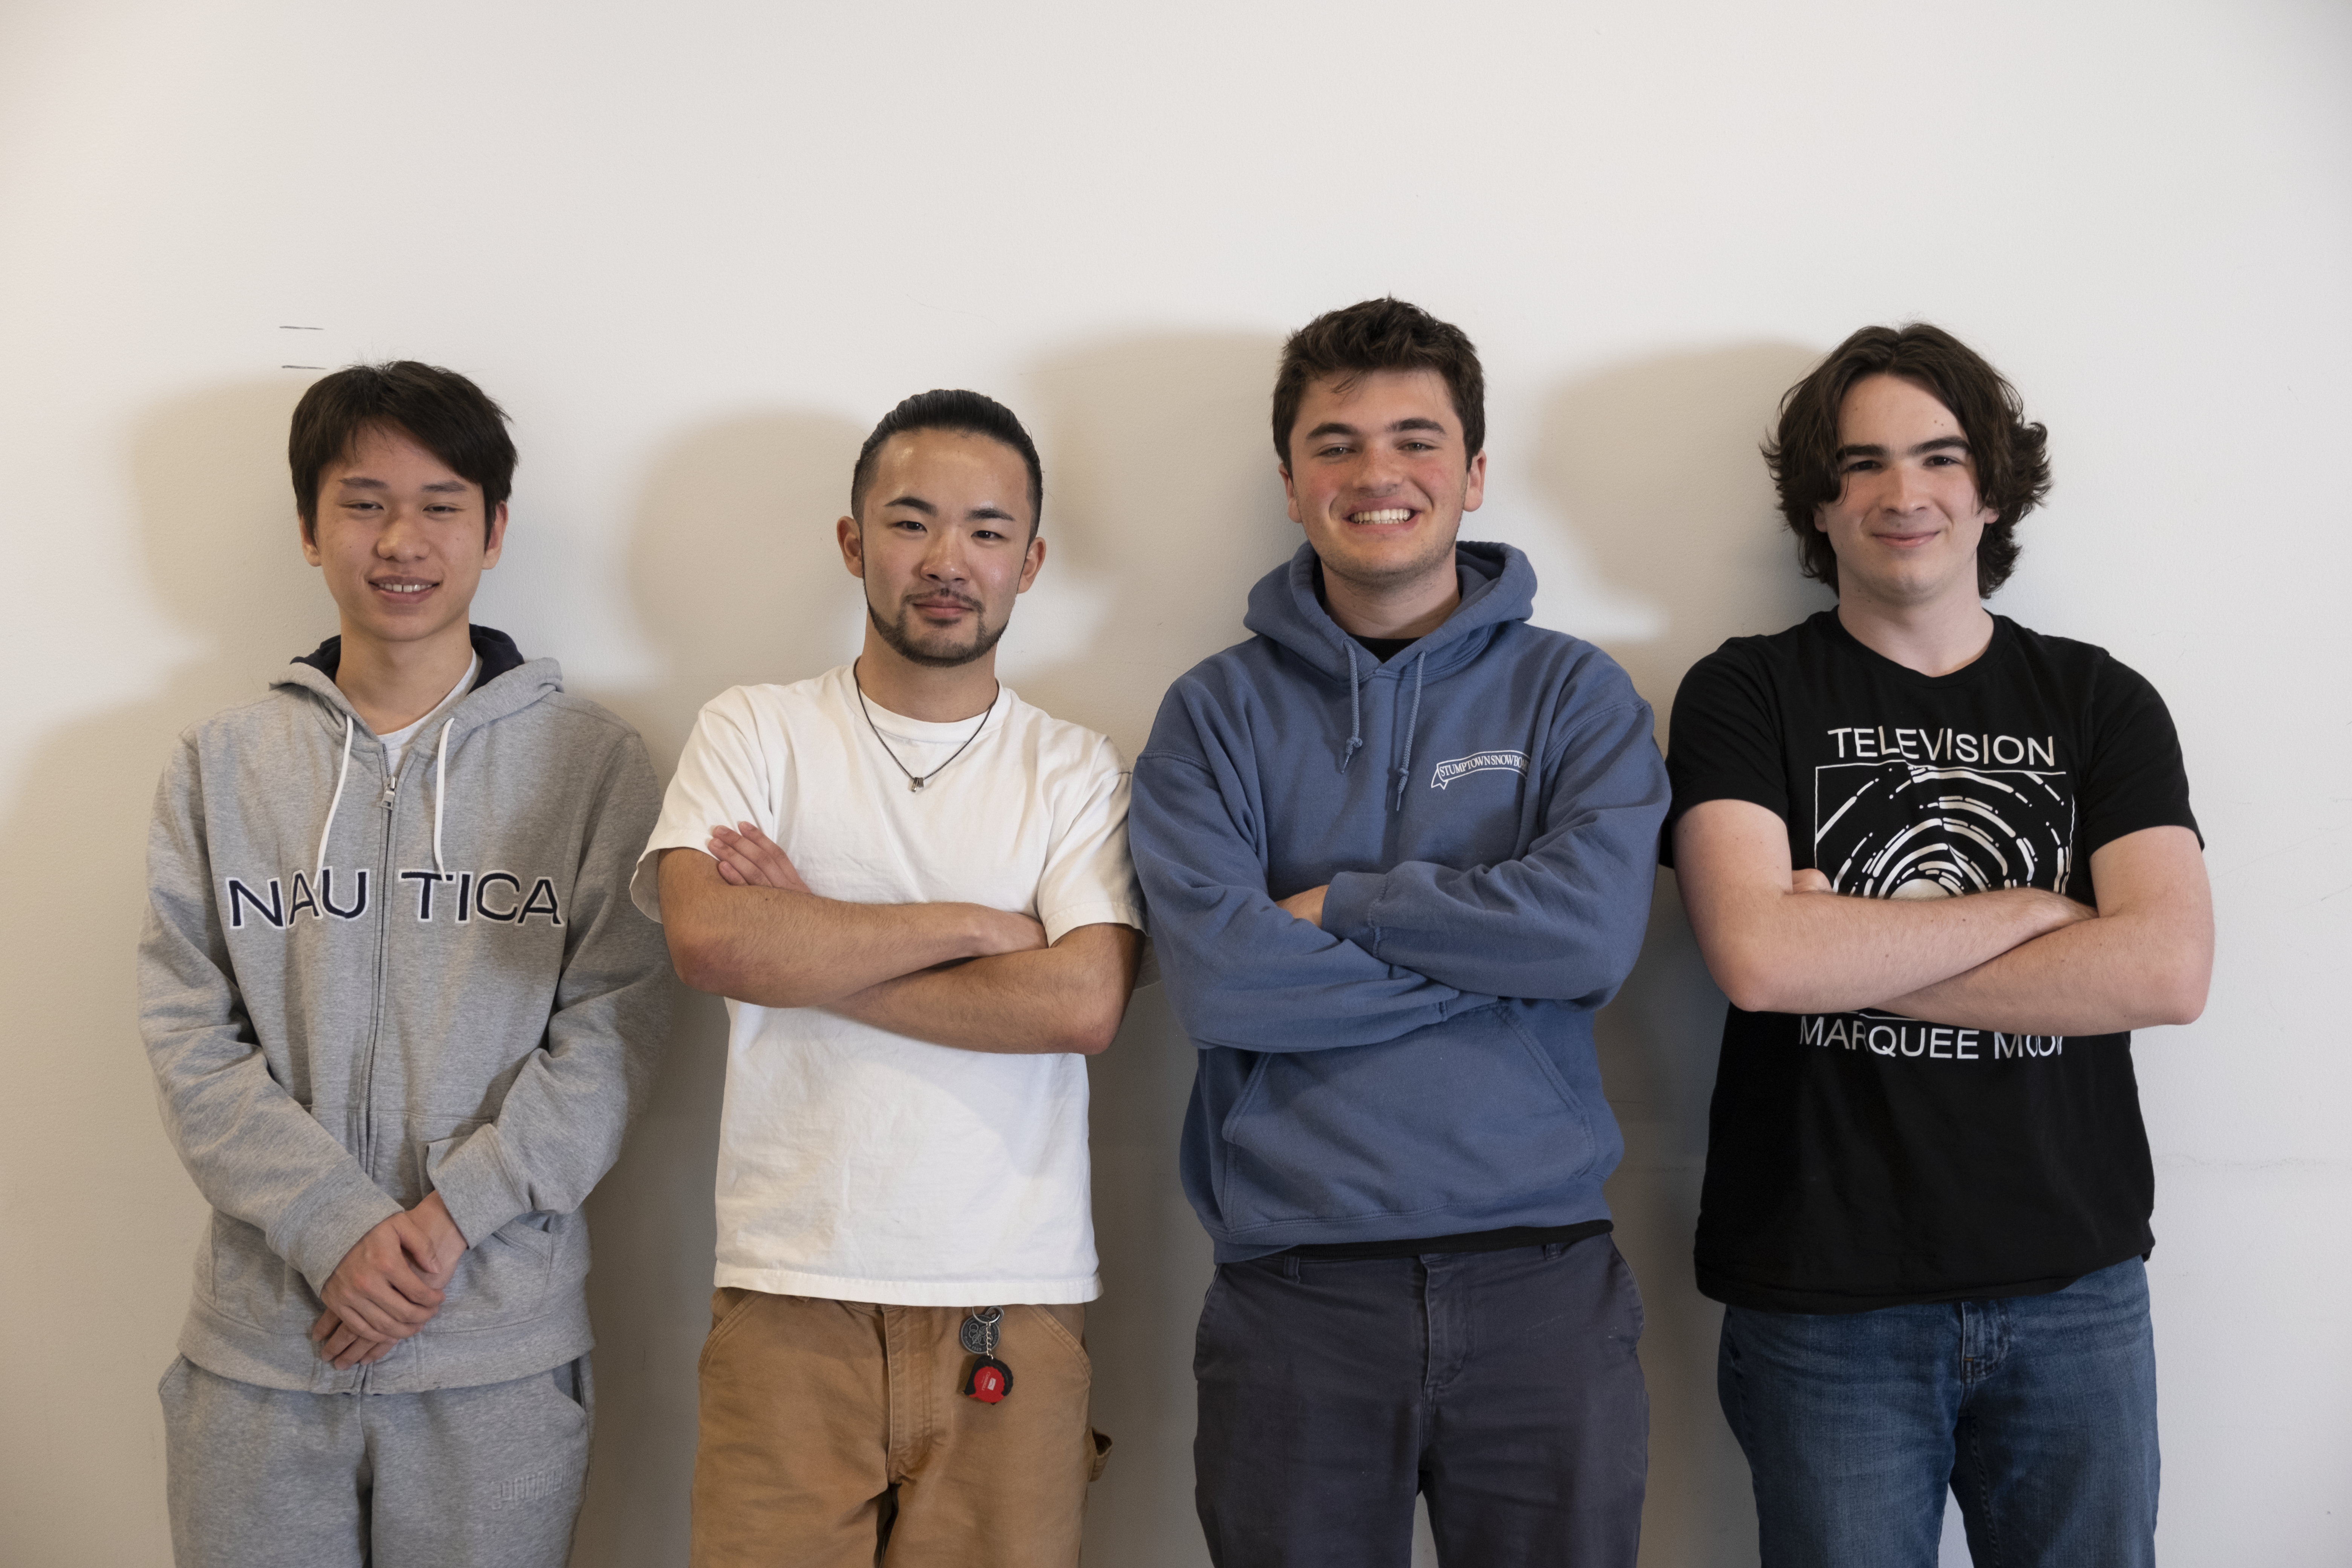
My group initially started just by me and added three new members from Jan. 2024.
Senri Nakamura ’26, Electrical Engineering - Lead
Larry Qiu ’27, Electrical Engineering - Testing
Trevor Lamishaw ’27, Biology - Soldering
Harry Murphy ’27 - Soldering
Workbreakdown Structure
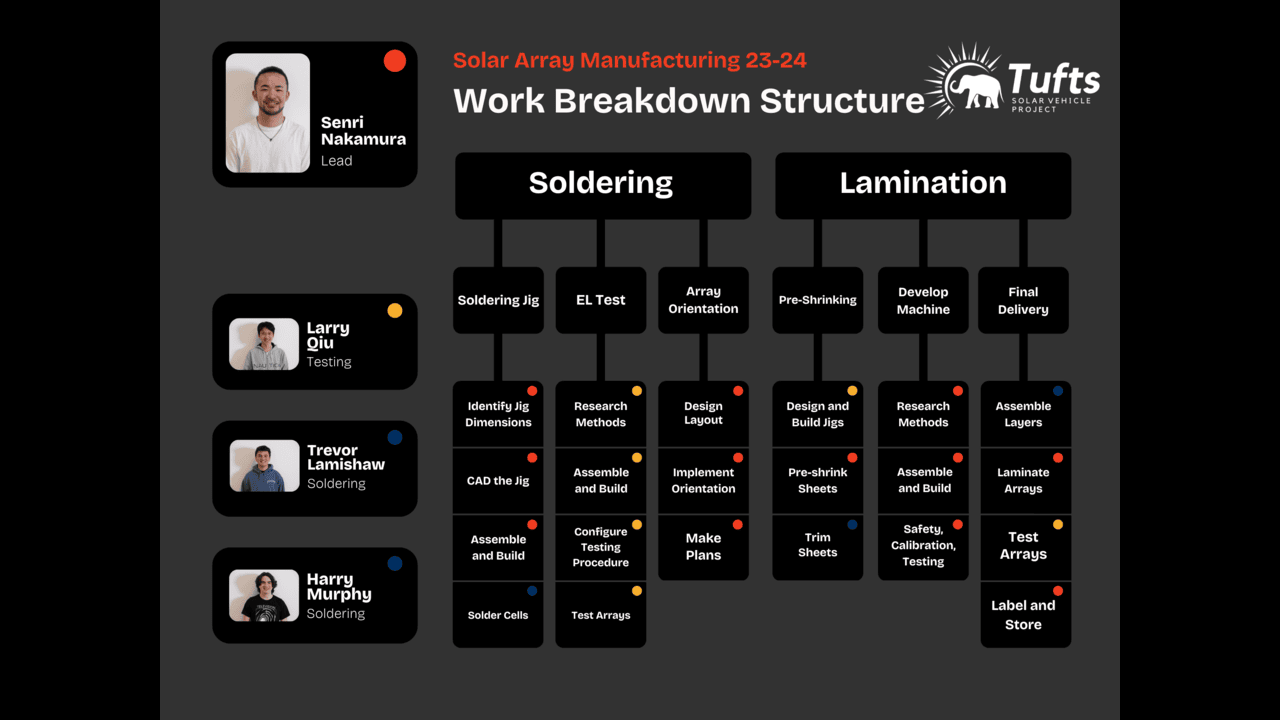
I designed a structured work breakdown for efficient solar array production, covering critical steps like soldering, lamination, and testing. I implemented processes for jig design, pre-shrinking sheets, and final assembly to ensure high-quality, consistent results. My role involved optimizing workflows, enhancing team collaboration, and ensuring each stage met project standards.
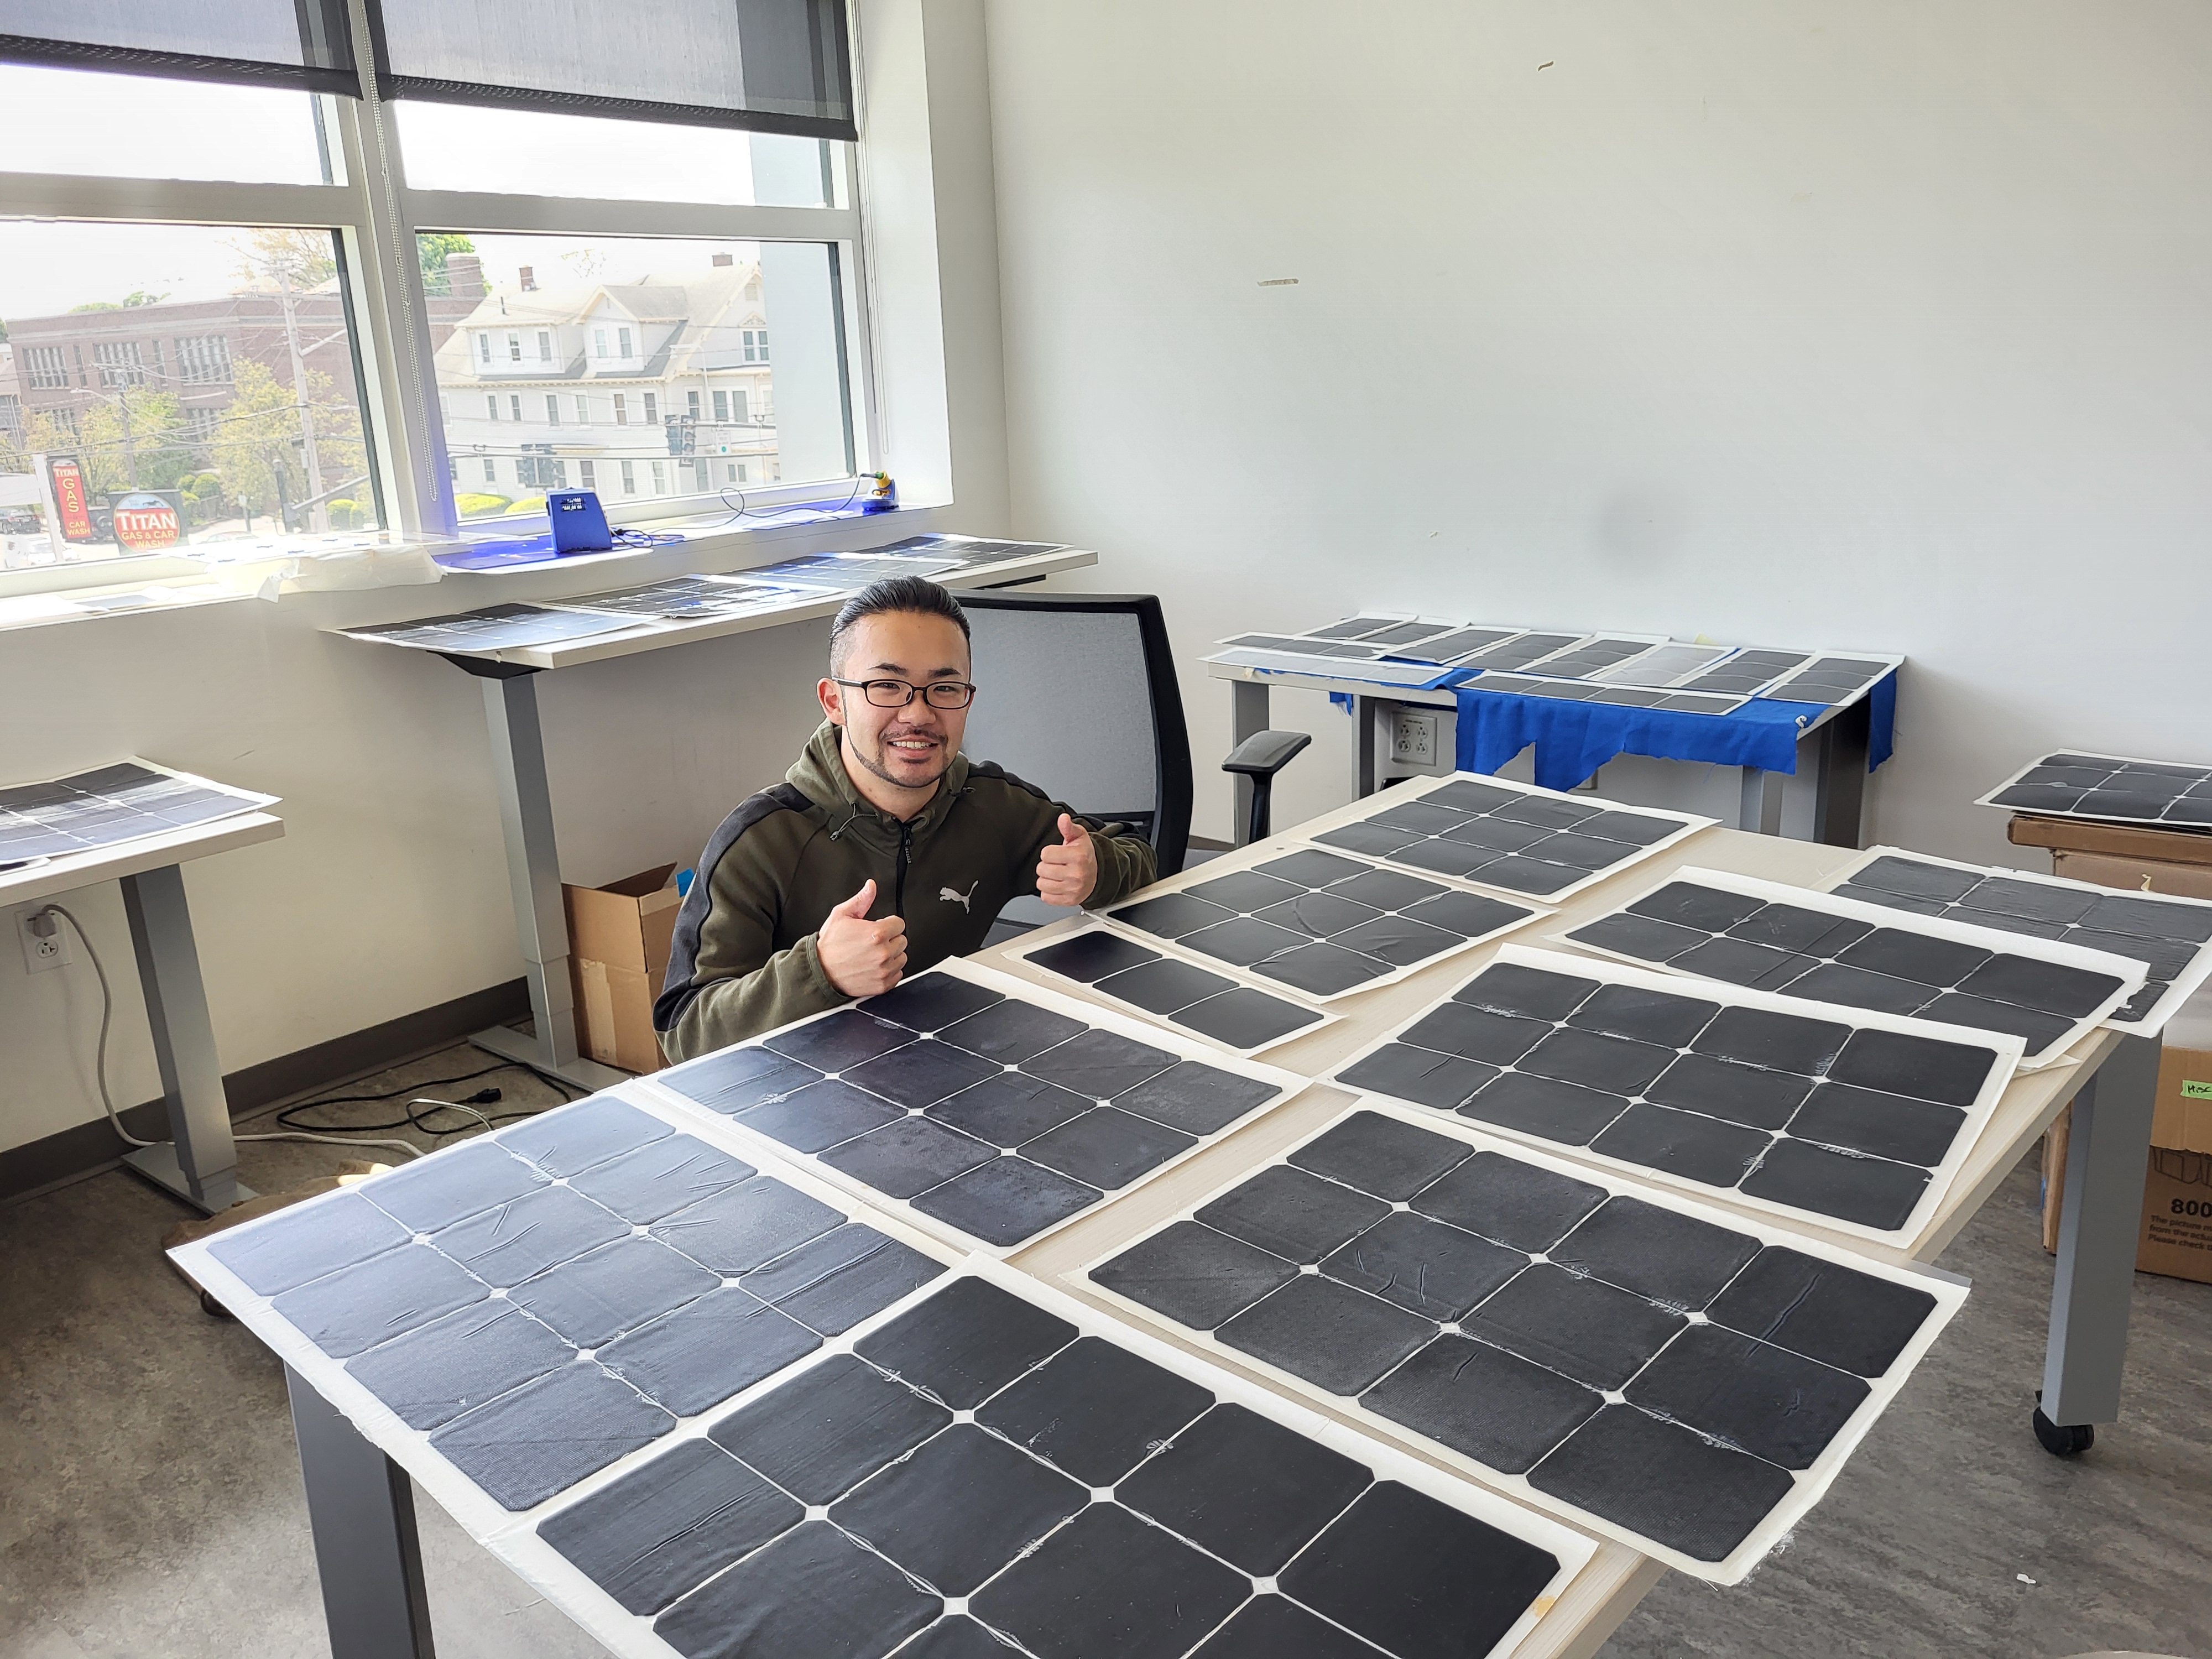
Electrical System


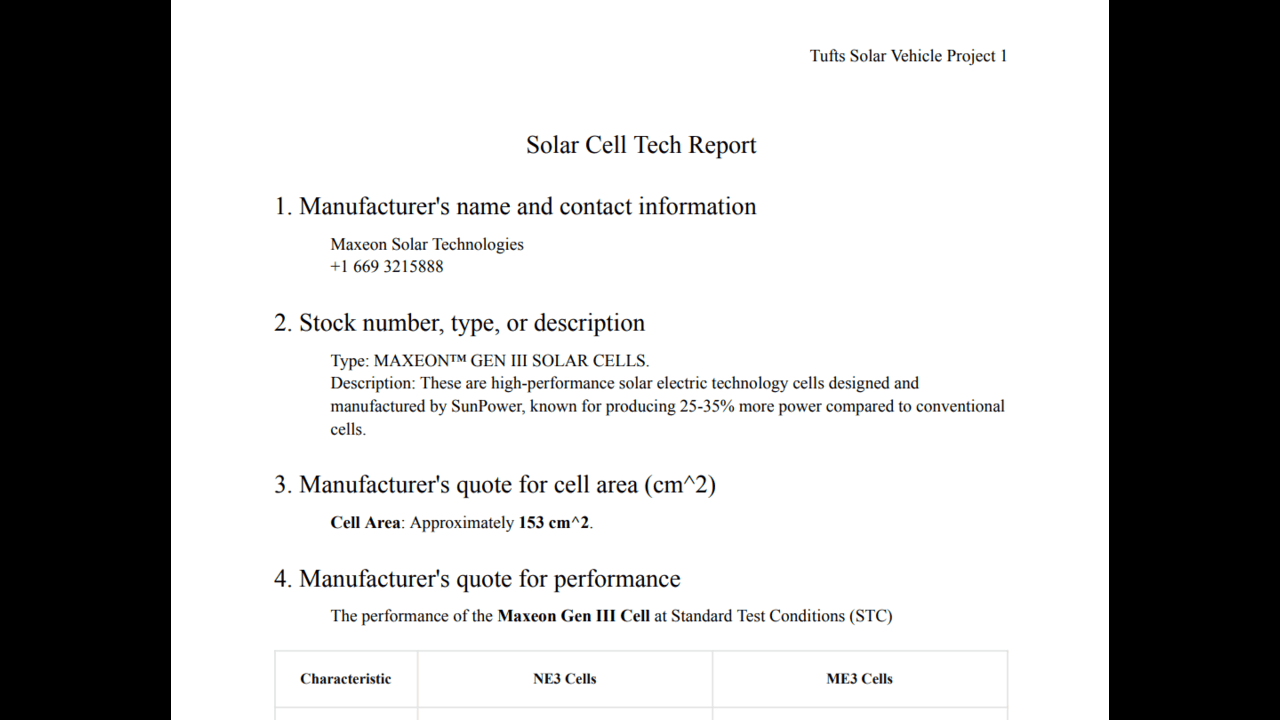
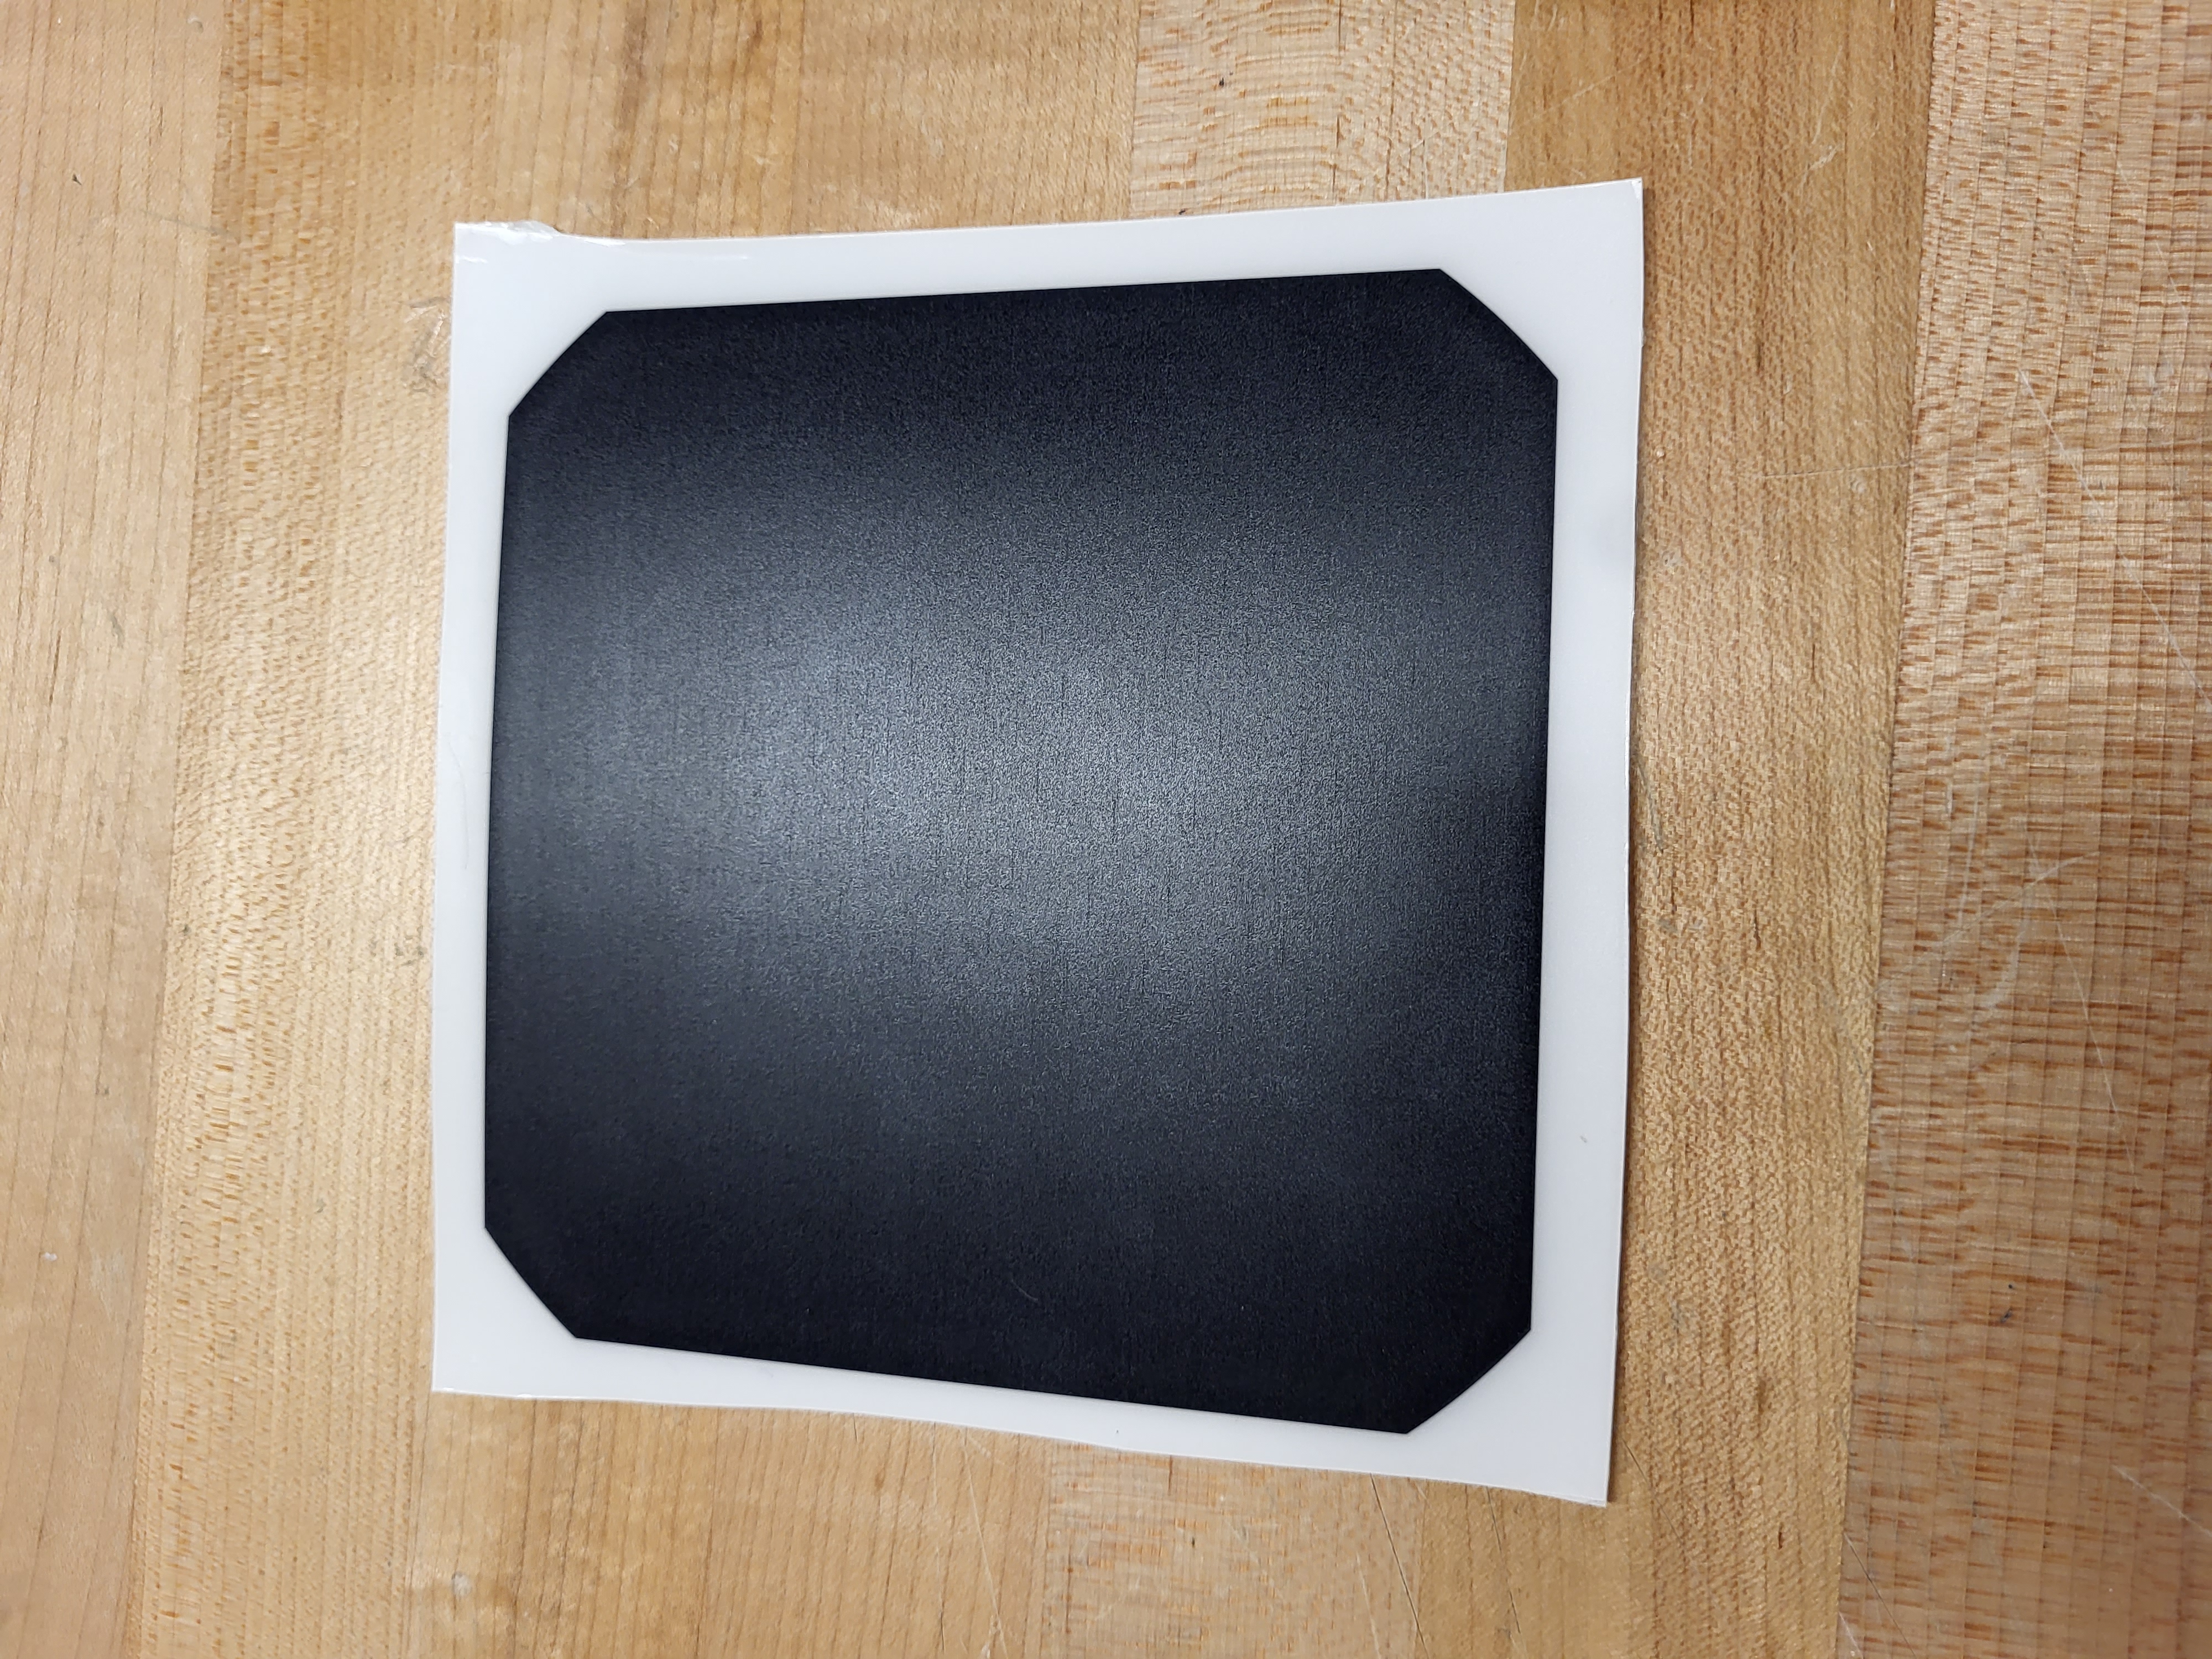
Our solar vehicle's electrical system is built around 256 Maxeon Gen III solar cells (Type: MAXEON™ GEN III), with each cell offering 24-25% efficiency. Each cell has a surface area of 153 cm², producing a power output of 3.72-3.78 Wp. The cells collectively cover a total area of approximately 4 m² across 33 arrays, optimized with bypass diodes and connected through MPPT units. I designed this system with my Electrical co-Lead, Xamier.
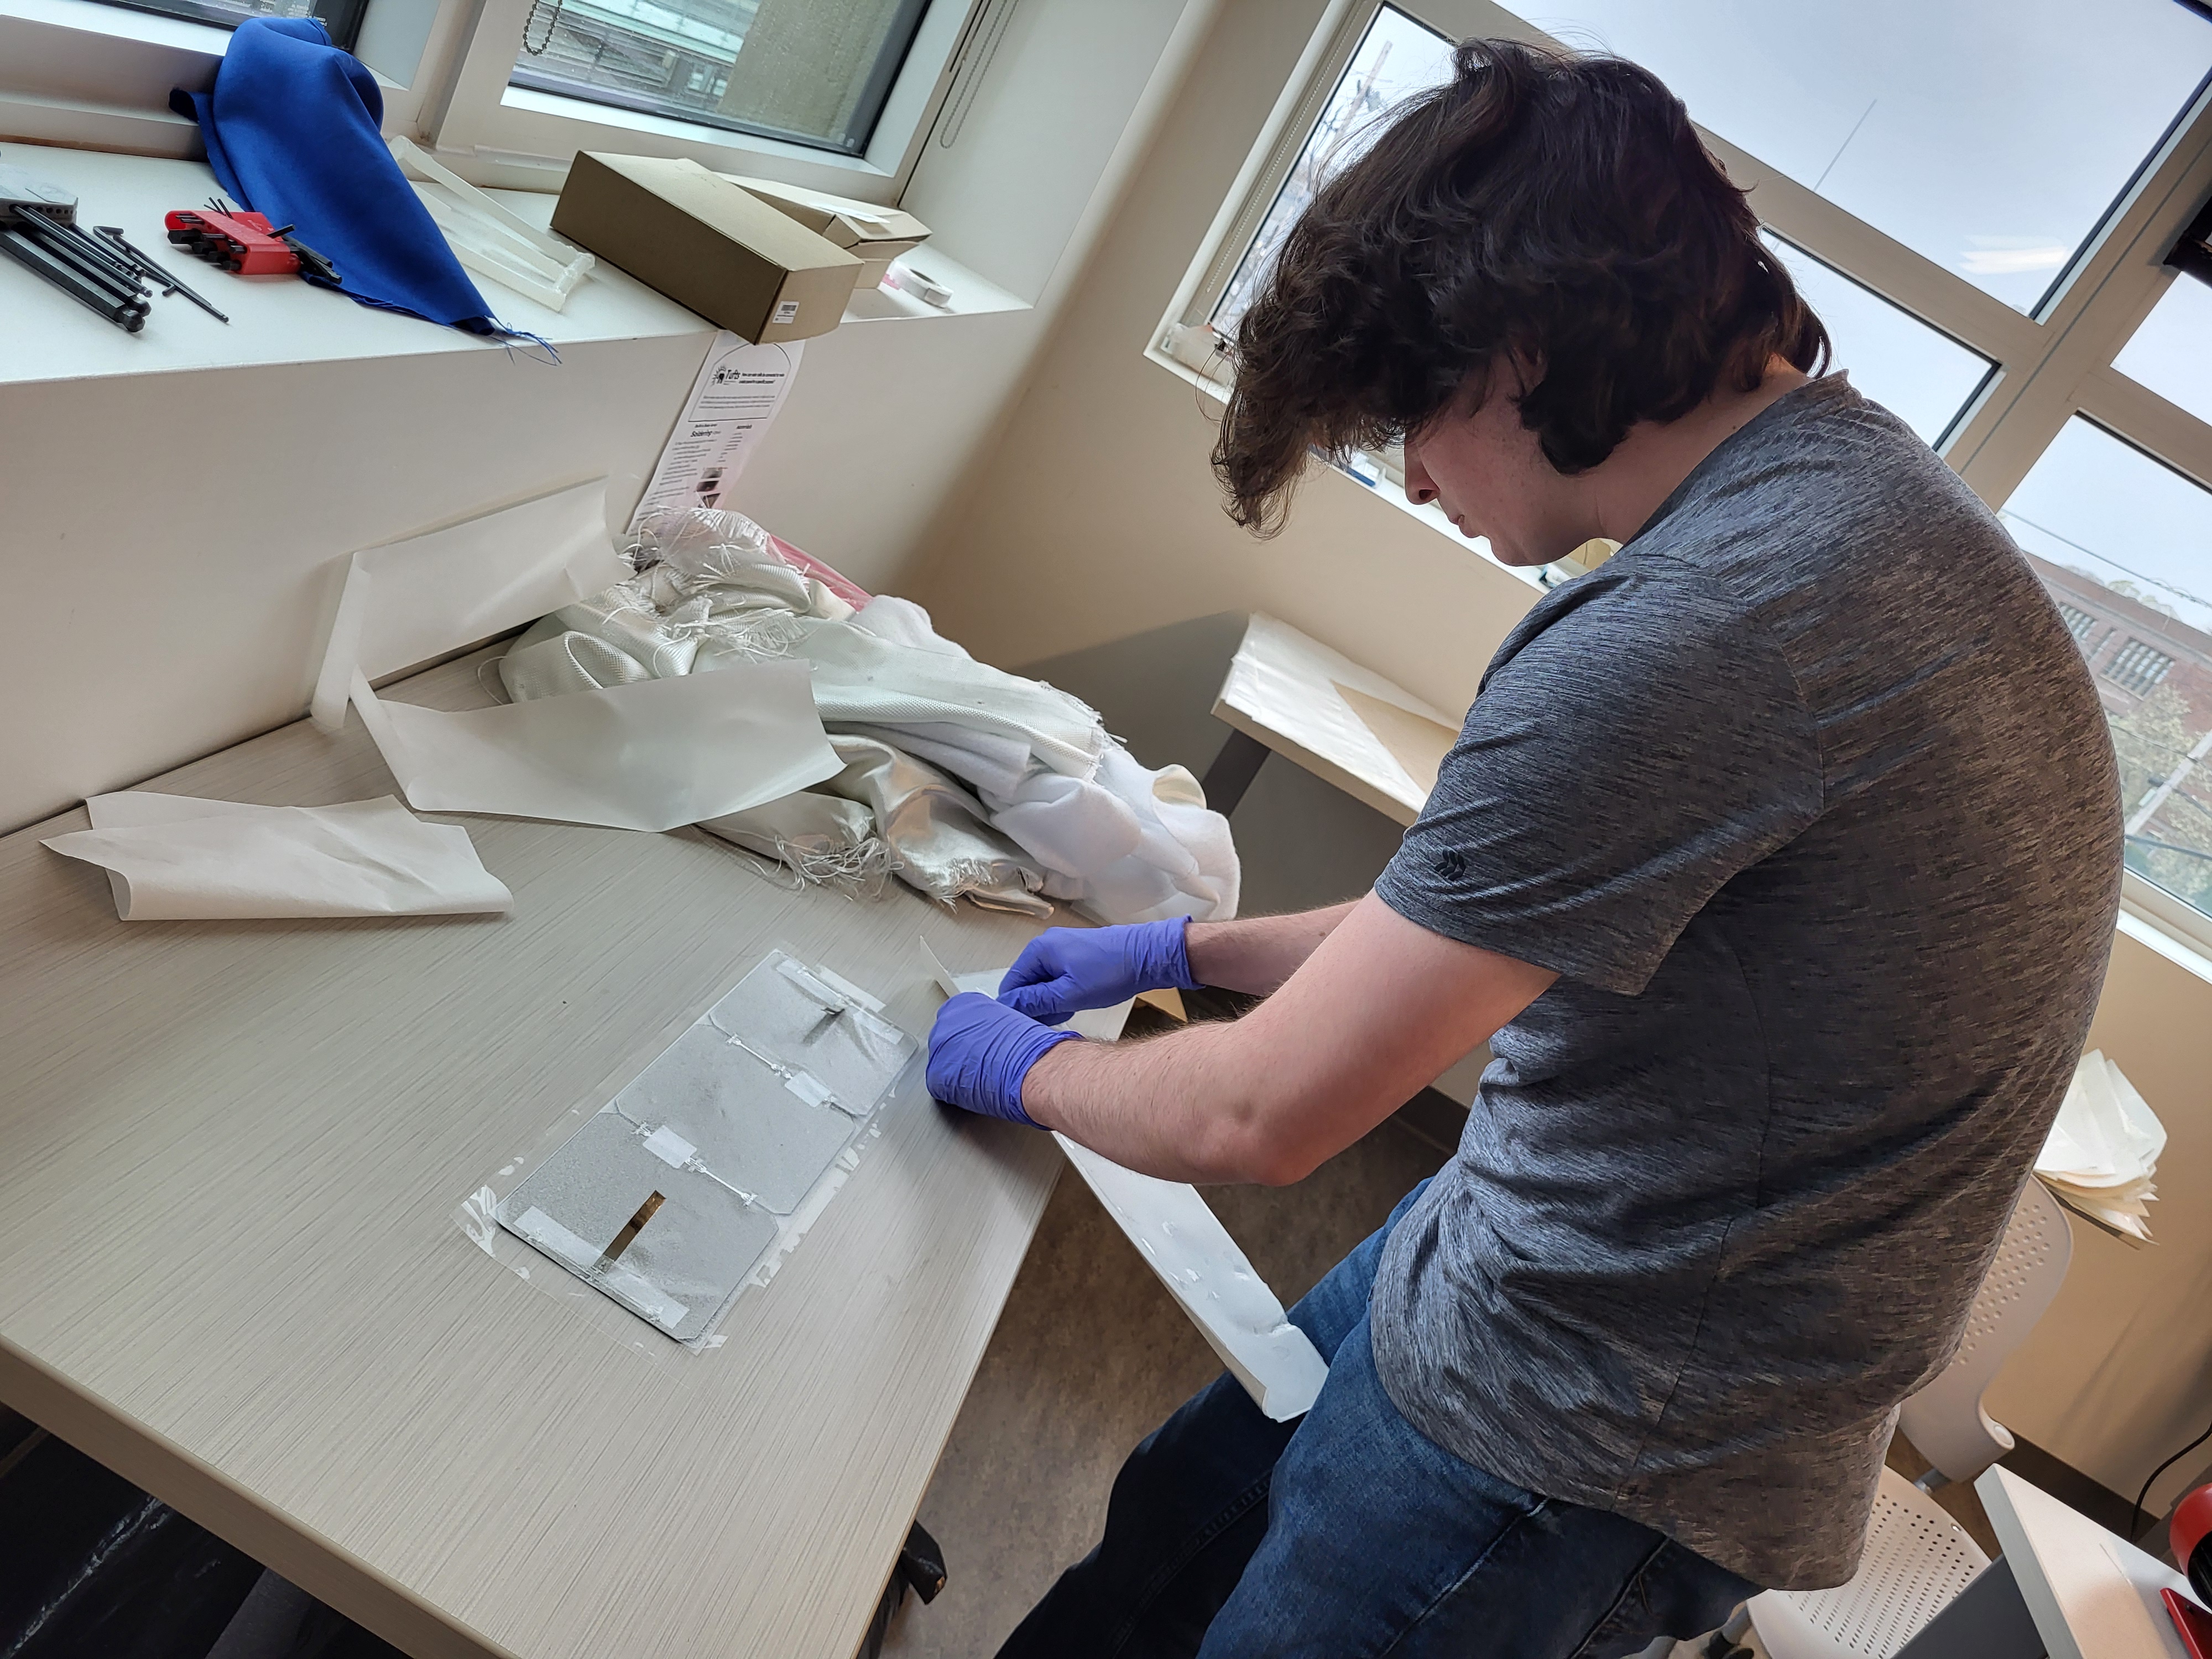
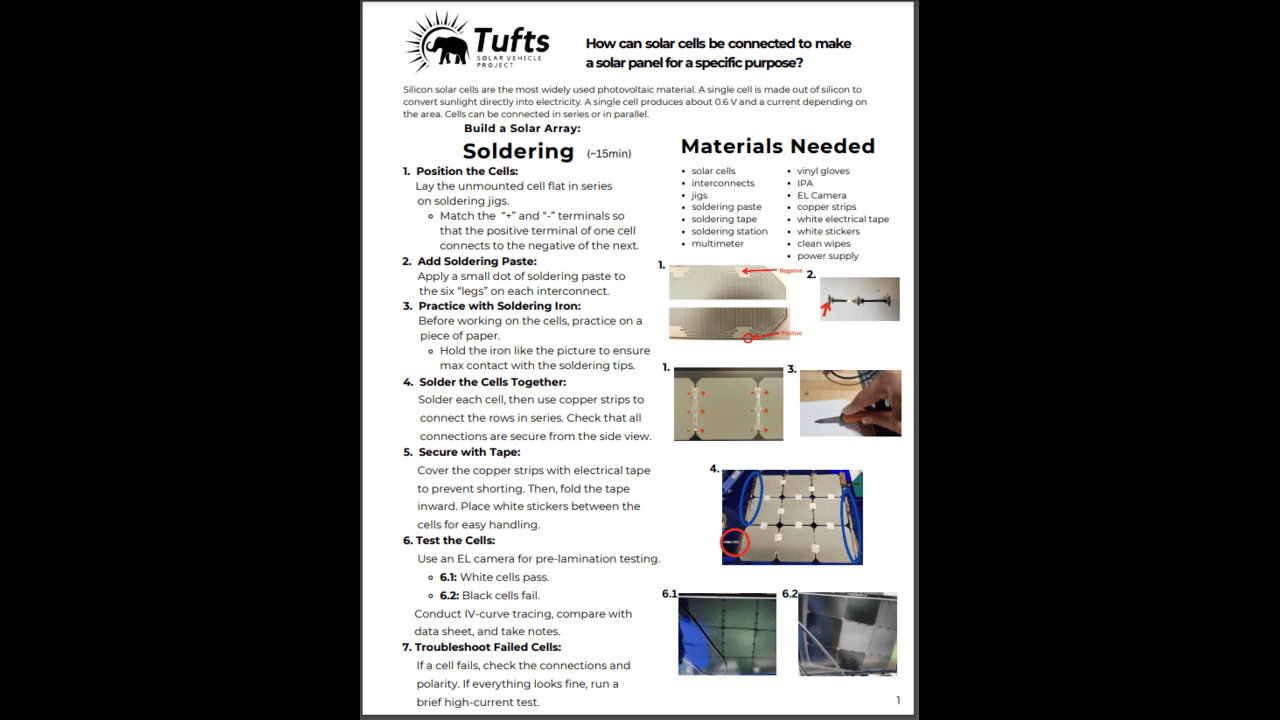
Soldering
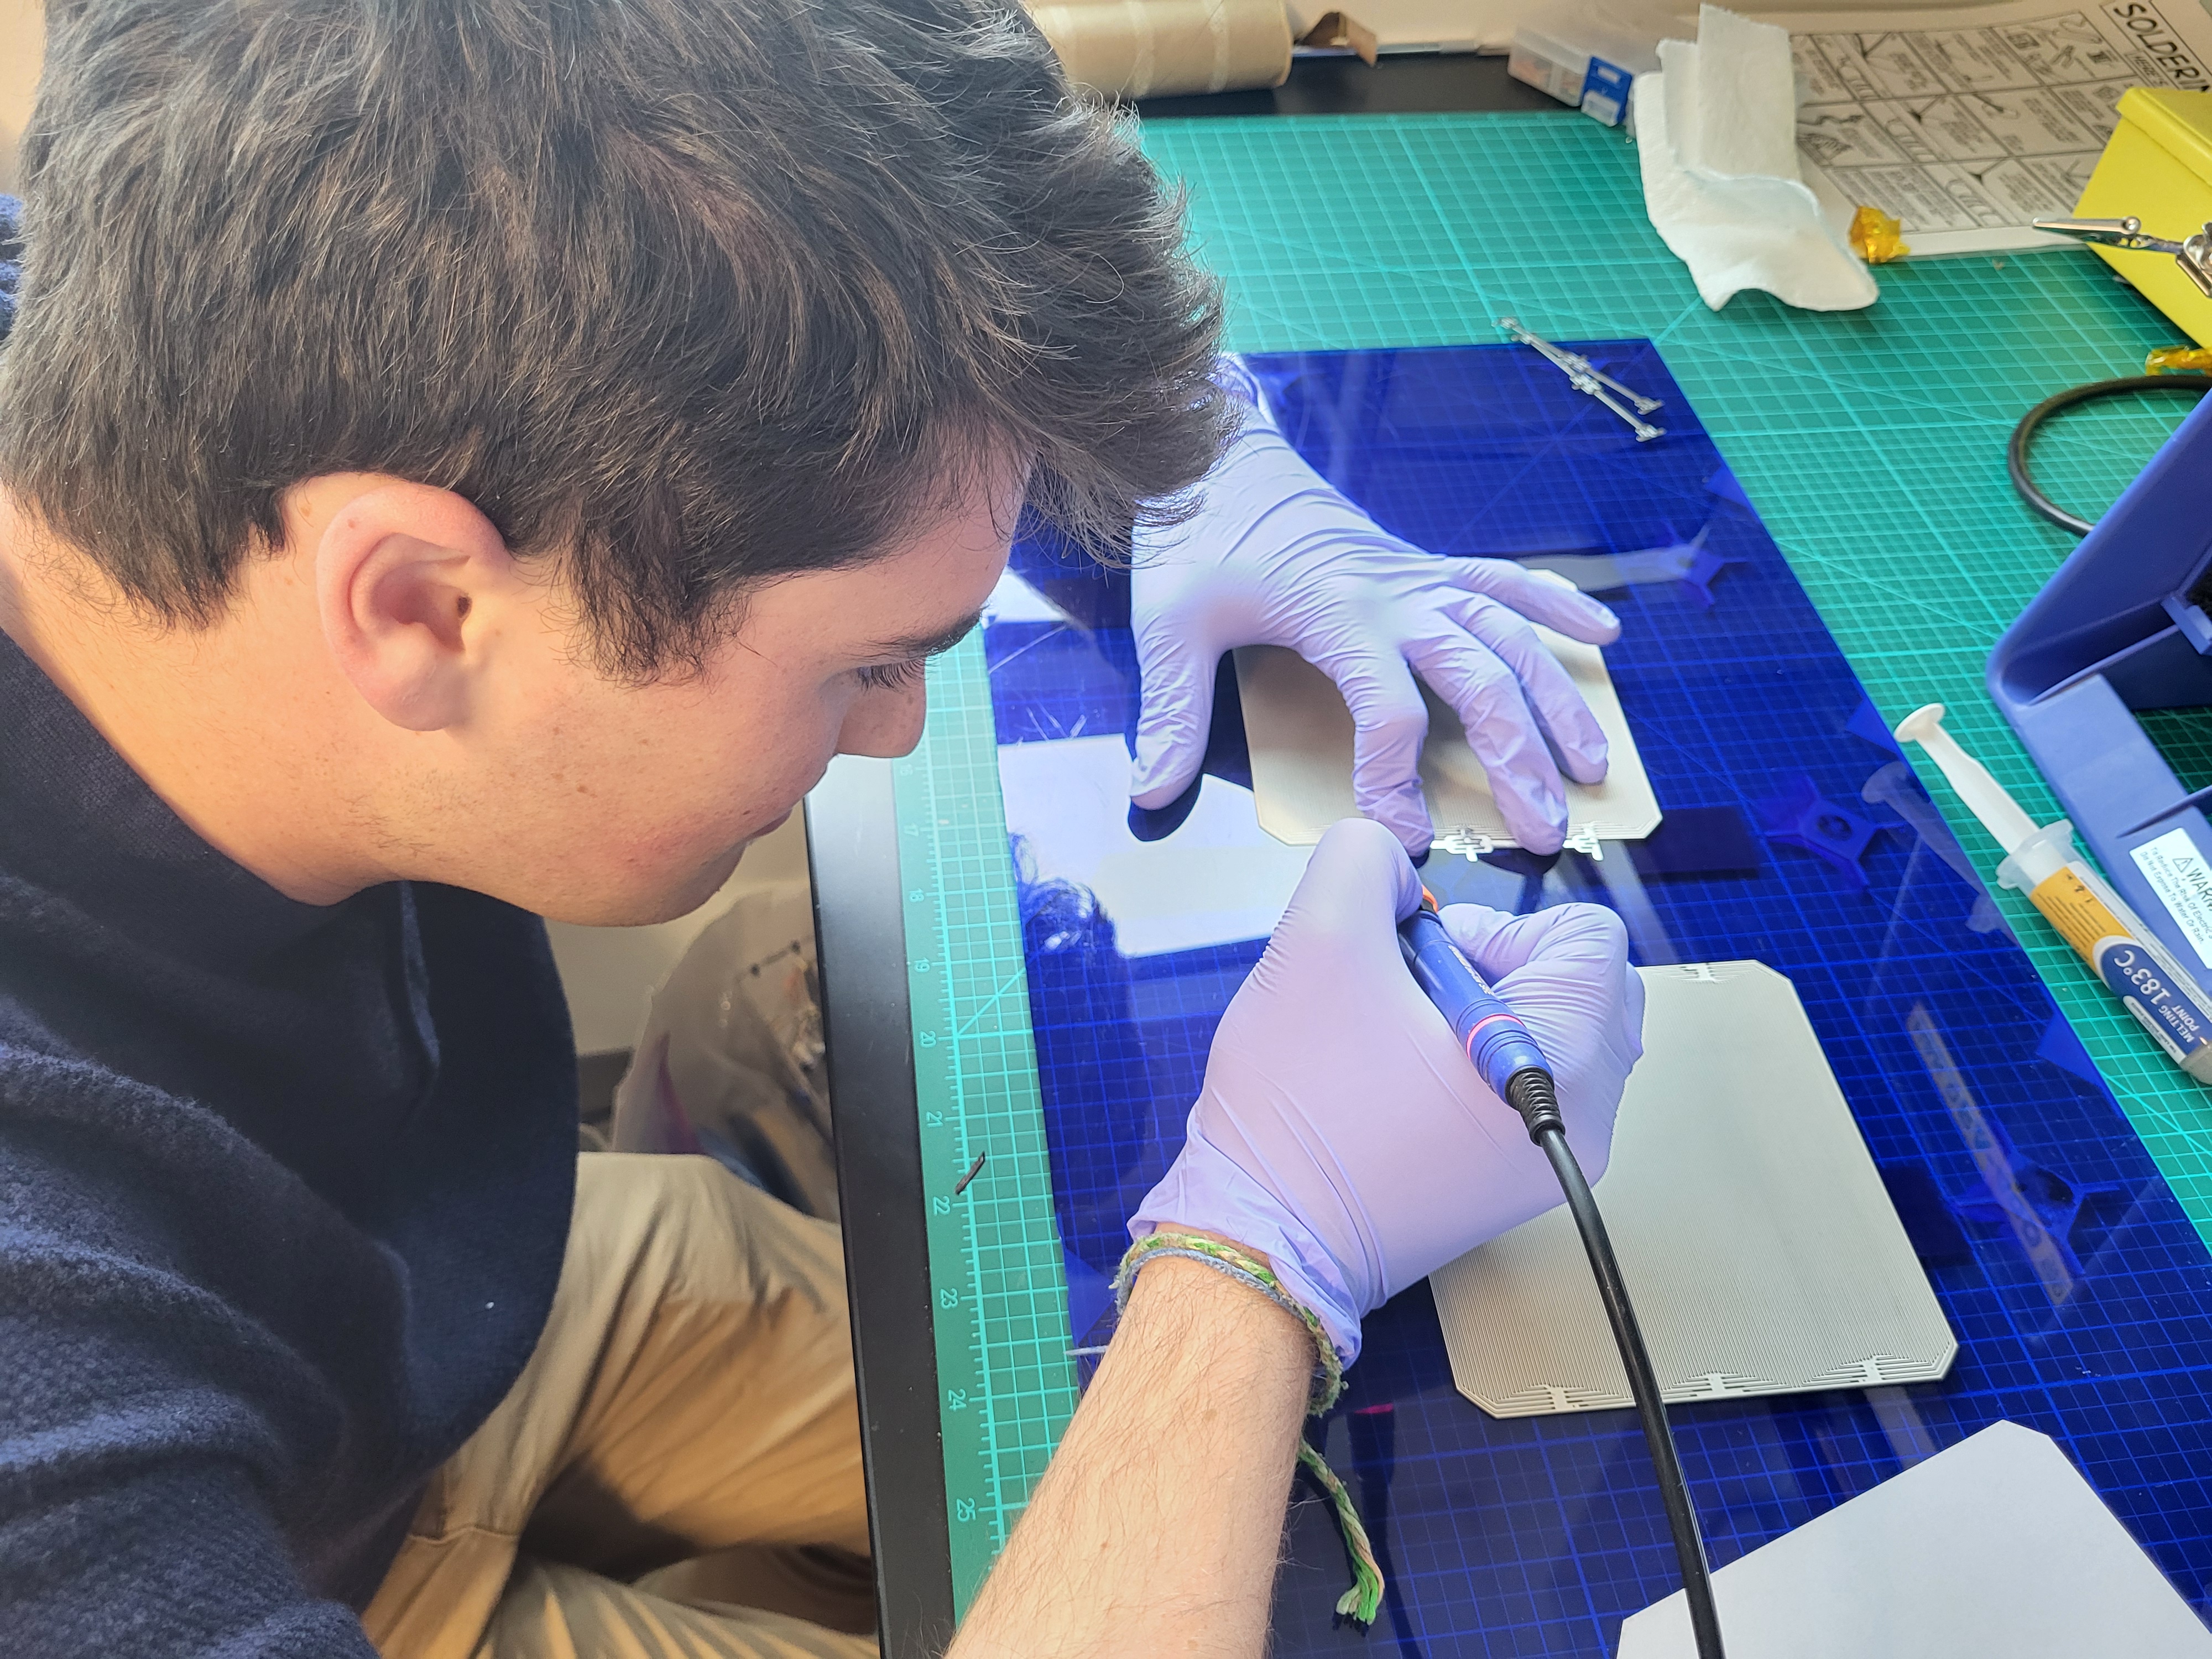
Trevor Practicing Soldering
To solder the 236 cells in our solar array, we used a soldering jig for precise alignment. Each cell was positioned and connected in series with copper strips. Before working on the actual cells, we practiced on over 150 cells, learning from mistakes to refine our technique. This preparation, with the jig’s support, ensured strong, consistent connections.
IV Curve Tracing

IV Curve Test to Verify Array Performance
After soldering, we test the array with a dual-function machine for EL and IV curve testing. LEDs simulate sunlight, and we measure the voltage (Vmpp) and current to verify performance. Vmpp is compared to the datasheet range (0.621 - 0.630 V) to ensure the array meets specs before lamination.
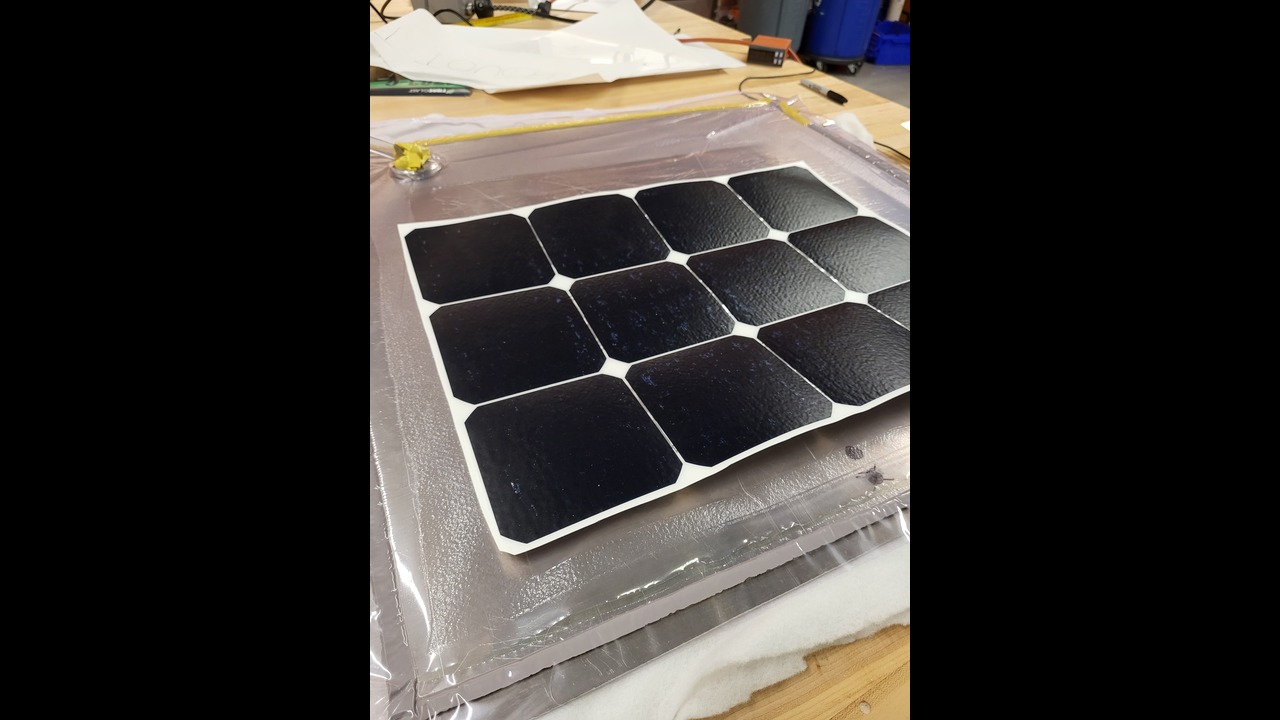
Lamination Machine

Dual-function Lamination and Pre-shrinking Machine
Our lamination machine also serves as a pre-shrinking machine. Covered with a vacuum bag during lamination, it creates a secure bond by pulling a vacuum and heating layers of sheets and cells. The setup includes a sturdy wooden stand, heating plate, aluminum plate for even heat distribution, vacuum supply, and adjustable holders. This dual-purpose design enables cost-efficient lamination and pre-shrinking of solar array components.
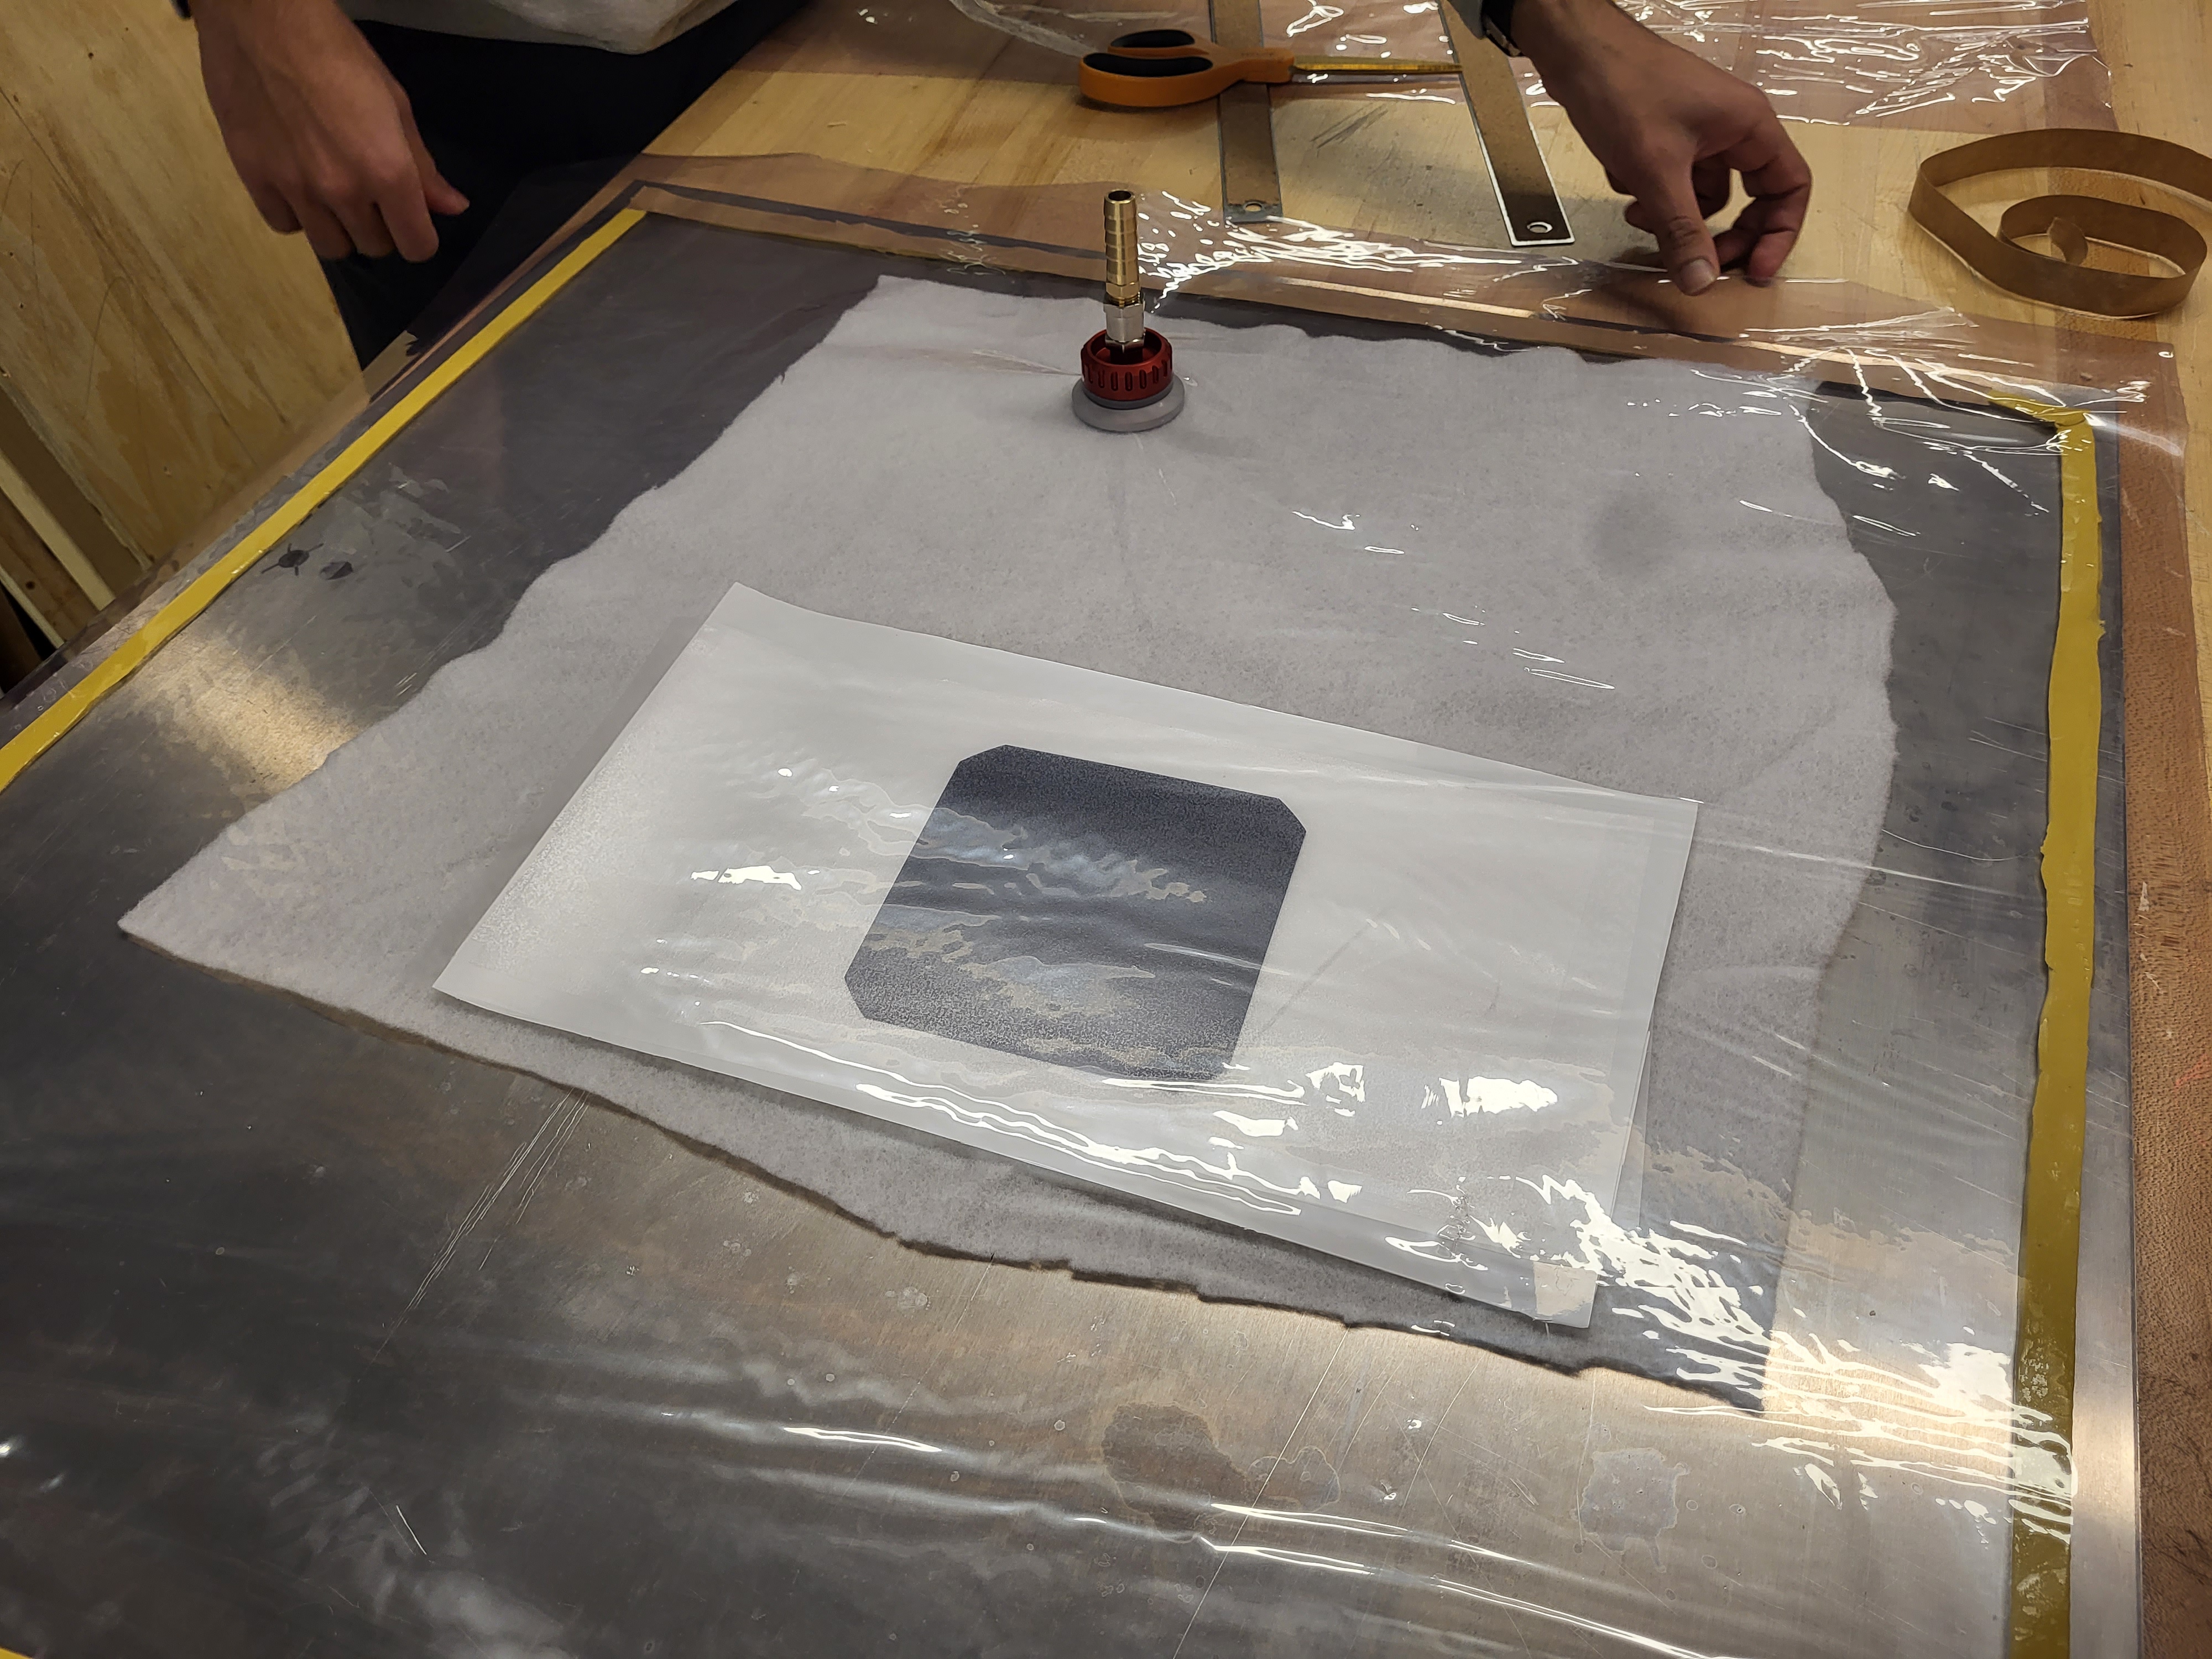
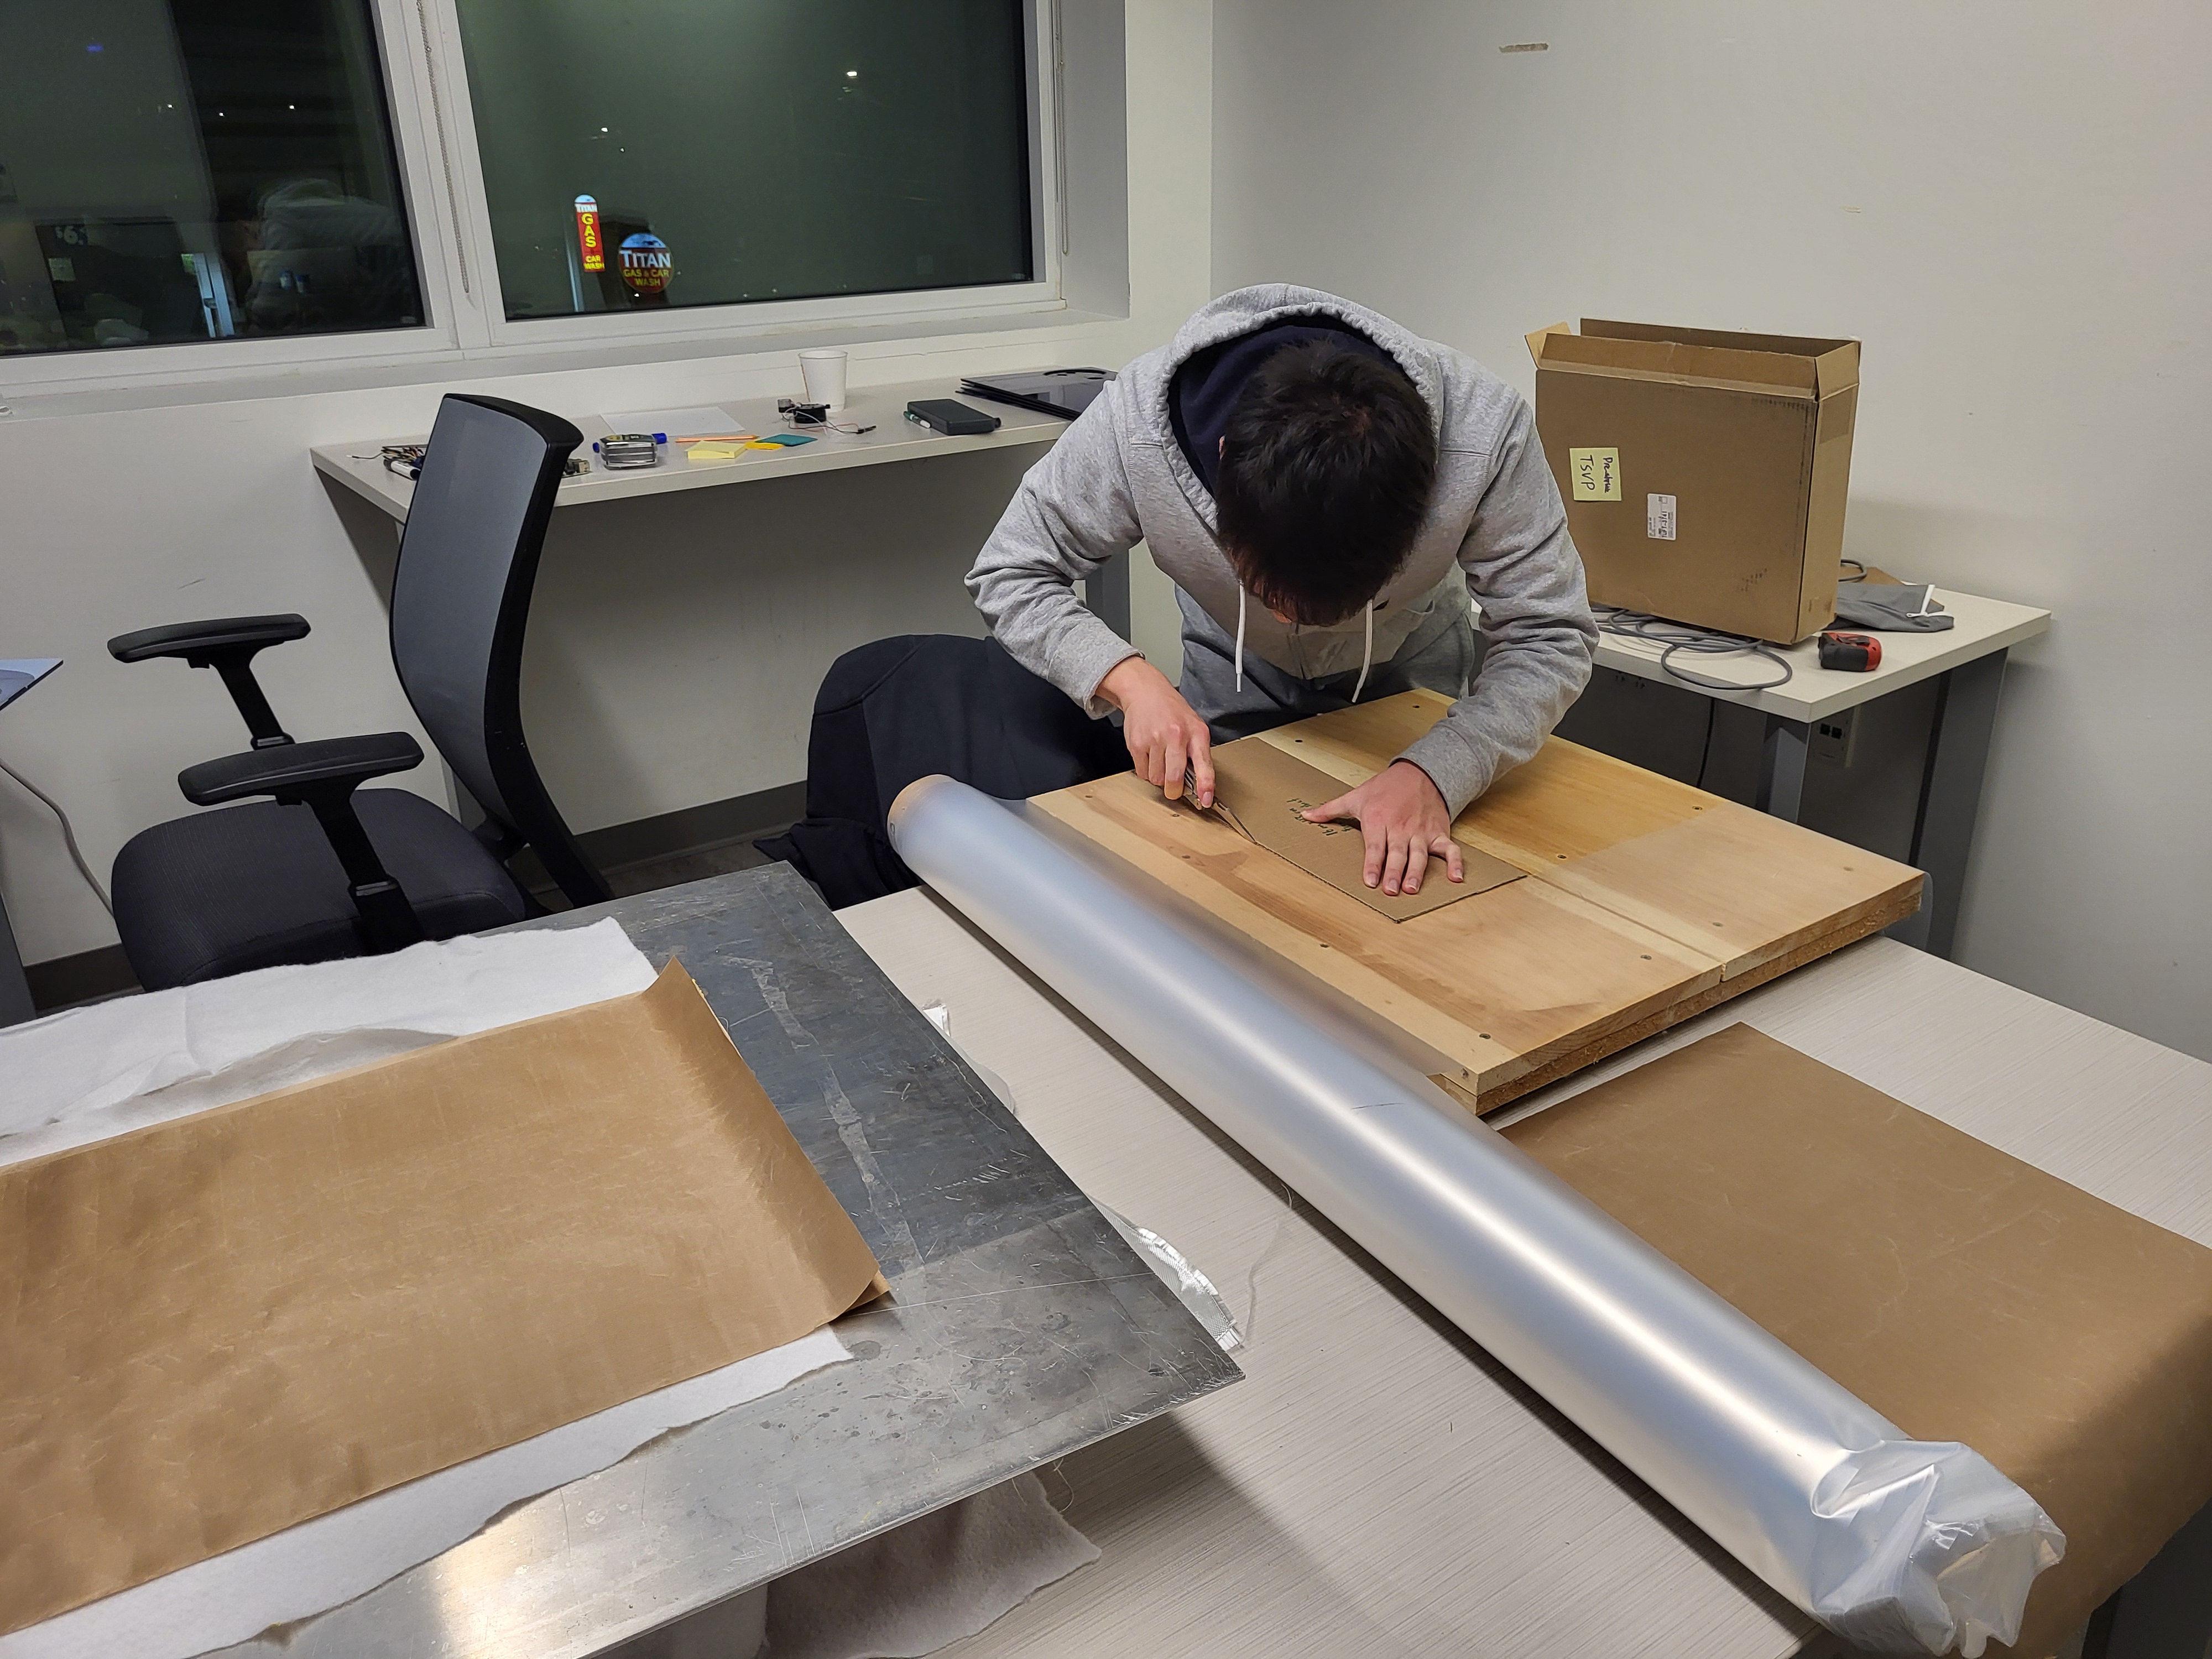
Pre-Shrinking

Cutting Pre-shrunk Backsheet to Prepare for Lamination
Pre-shrinking addresses warping caused by the adhesive layers on the solar array's backsheet and frontsheet. The array consists of four layers:Backsheet + EVA + Cells + EVA + Frontsheet. In early prototypes, the glue caused warping, so we implemented pre-shrinking. This process uses our machine to apply heat to stabilize each layer before final lamination, ensuring a flat, reliable array.
EL Test

Machine Setup for Solar Cell Preparation

EL Test Results—White Cells Pass, Black Cells Indicate Defects
The Electroluminescence (EL) test reveals defects in solar cells by emitting light when an electric current is applied. Powered by a Raspberry Pi, the EL test passes a current through the cells, causing any imperfections to glow under an electric field. The test results are displayed on a screen, allowing us to inspect each cell for flaws before final assembly.
Project Management


The Gantt chart organizes tasks for the Solar Array Manufacturing project, detailing steps for recruitment, training, soldering, lamination, and pre-shrinking, each with specific dates, responsible team members, and status updates. The itemized budget covers five main categories: Soldering Tools and Materials (soldering stations, fume extractors, copper strips, mostly sponsored to keep costs low), Testing Equipment (Raspberry Pi and power supply, totaling $150), Assembly Materials (front and back sheets, EVA, and interconnects, with most costs covered by sponsorships), Lamination Equipment (heating plate and vacuum pump for $120), and Miscellaneous Tools (cutting jigs and wooden boards, mainly sourced from scrap). With substantial sponsorship and donations, the total project cost is $376.
Workshops
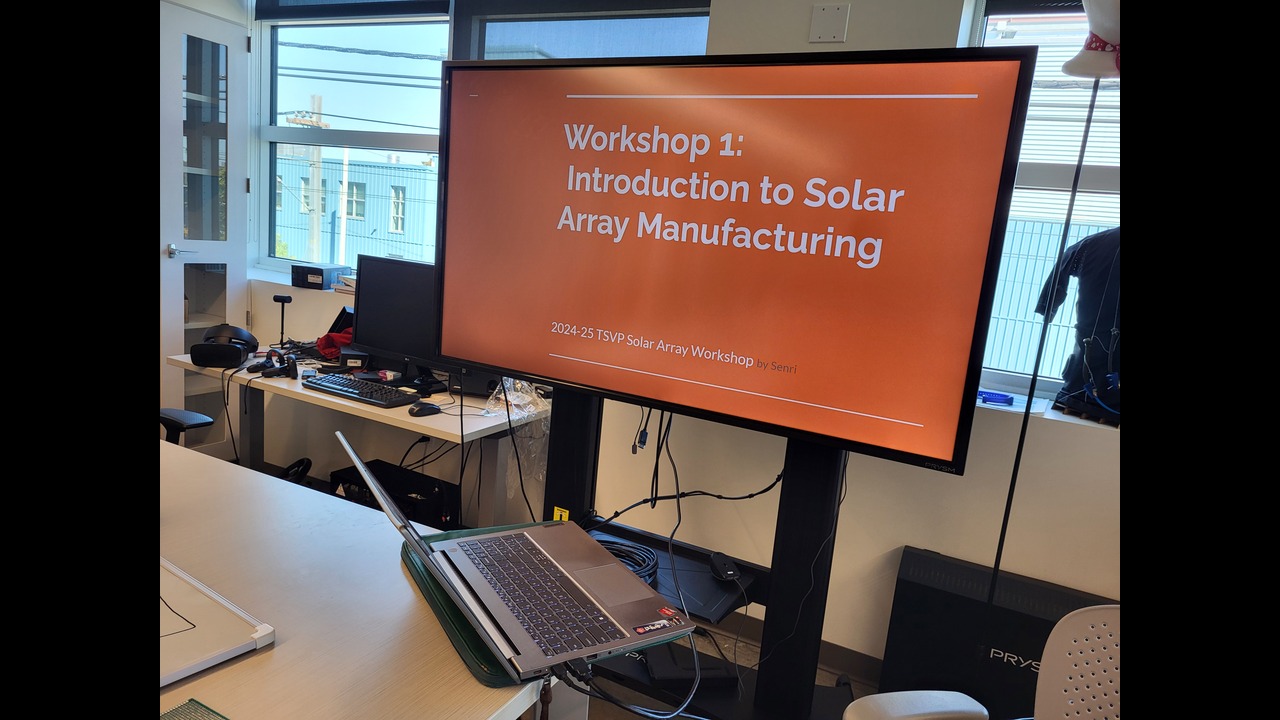
The Solar Array Manufacturing workshops I designed guide participants through every step of the process, from the basics to advanced techniques. Beginning with an introduction to solar array manufacturing, the series covers soldering, testing, pre-shrinking, and concludes with hands-on lamination. A special session with our sponsor, Maxeon, provides real-world insights. Held bi-weekly, these workshops aim to share the knowledge I’ve gained, empowering future TSVP members to build and innovate further.